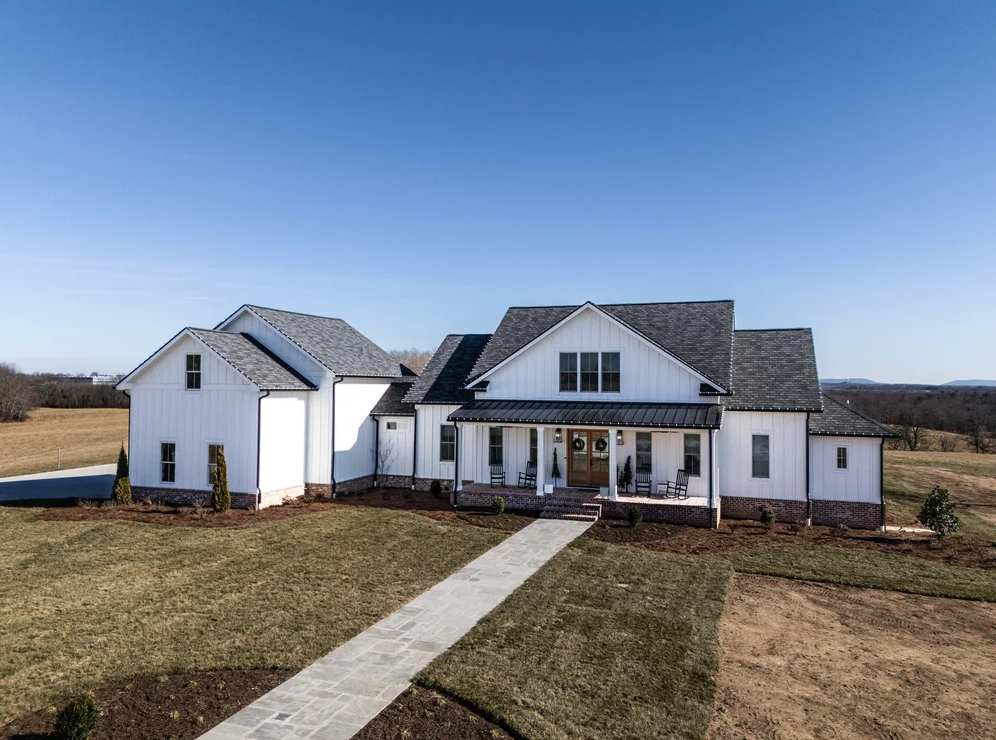
A new roof is one of the most significant investments you’ll make in your home. It protects everything inside — your family, your belongings, your structure — from the elements year-round. But for most homeowners, the roof replacement process is a mystery. What happens first? How long does it take? What should you be doing while the crew is working?
At Jeff Woods Construction & Roofing, we believe an informed homeowner is a confident homeowner. So in this guide, we’re pulling back the curtain on the entire roof installation process — from your very first call to the final walkthrough — so you know exactly what to expect every step of the way.
Every roof installation starts with a thorough inspection. Before any work is recommended or priced, a qualified roofing professional needs to assess the current condition of your roof — not just the shingles, but the decking, flashing, gutters, ventilation, and any signs of underlying damage.
At Jeff Woods Construction & Roofing, we offer free roof inspections across Tennessee. A proper inspection gives you an honest picture of what your roof actually needs — whether that’s a full replacement, targeted repairs, or simply some maintenance attention.
During the inspection, your contractor should be looking at:
Not sure whether you need a repair or a full replacement? Our guide breaks it down clearly: Roof Repair or Replacement: How to Make the Right Choice for Your Home
Once the inspection is complete and a full replacement is confirmed, the next step is selecting your roofing materials. This is where many homeowners feel overwhelmed — but it doesn’t have to be.
The main decisions you’ll make include:
Asphalt shingles are by far the most common choice for Tennessee homes, offering a strong balance of cost, durability, and aesthetics. Within asphalt shingles, you’ll choose between three-tab shingles and architectural (dimensional) shingles — with architectural being the more popular and longer-lasting option.
Other material options include metal roofing, wood shakes, and synthetic options. Each has its own advantages depending on your budget, your home’s style, and your long-term goals. For a full breakdown of material options and how they perform in Tennessee’s climate, read our Roofing Materials Guide: Best Roof Types for Tennessee Climate
Color is more than an aesthetic decision — it affects energy efficiency, curb appeal, and even resale value. Tennessee’s climate means color choice can impact how much heat your home absorbs. Our color guide can help you make the right call: Choosing the Perfect Roof Color for Your Tennessee Home
A complete roof replacement isn’t just shingles. A quality installation includes underlayment, leak barriers, starter strips, drip edge, ridge cap, and proper ventilation components — all working together as a system.
After the inspection and material selection, your contractor will provide a detailed written estimate. A trustworthy estimate should clearly itemize:
Be cautious of estimates that are vague, unusually low, or don’t include a written warranty. The cheapest bid is rarely the best value when it comes to roofing. For context on what a fair roof replacement costs in Tennessee, read our Roofing Cost Guide for Tennessee Homes
Before work begins, make sure you have a signed contract that outlines the full scope of work, payment schedule, start date, and projected completion date.
Once the contract is signed and a start date is set, there are a few things you can do to prepare your home and make the process go smoothly:
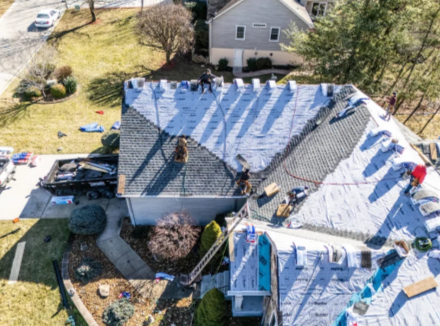
On installation day, the crew’s first task is removing your old roofing materials. This process is called the tear-off, and it involves stripping everything down to the bare roof deck — shingles, underlayment, and in some cases, old flashing.
The tear-off is the loudest and most labor-intensive part of the process. Depending on the size of your roof and how many layers need to be removed, it can take anywhere from a few hours to a full day.
Once the old materials are stripped, the exposed roof deck is inspected carefully. Any sections of decking that are rotted, warped, or structurally compromised are replaced before the new roofing system goes on. This is a critical step that should never be skipped — a new roof installed over a damaged deck won’t perform the way it should.
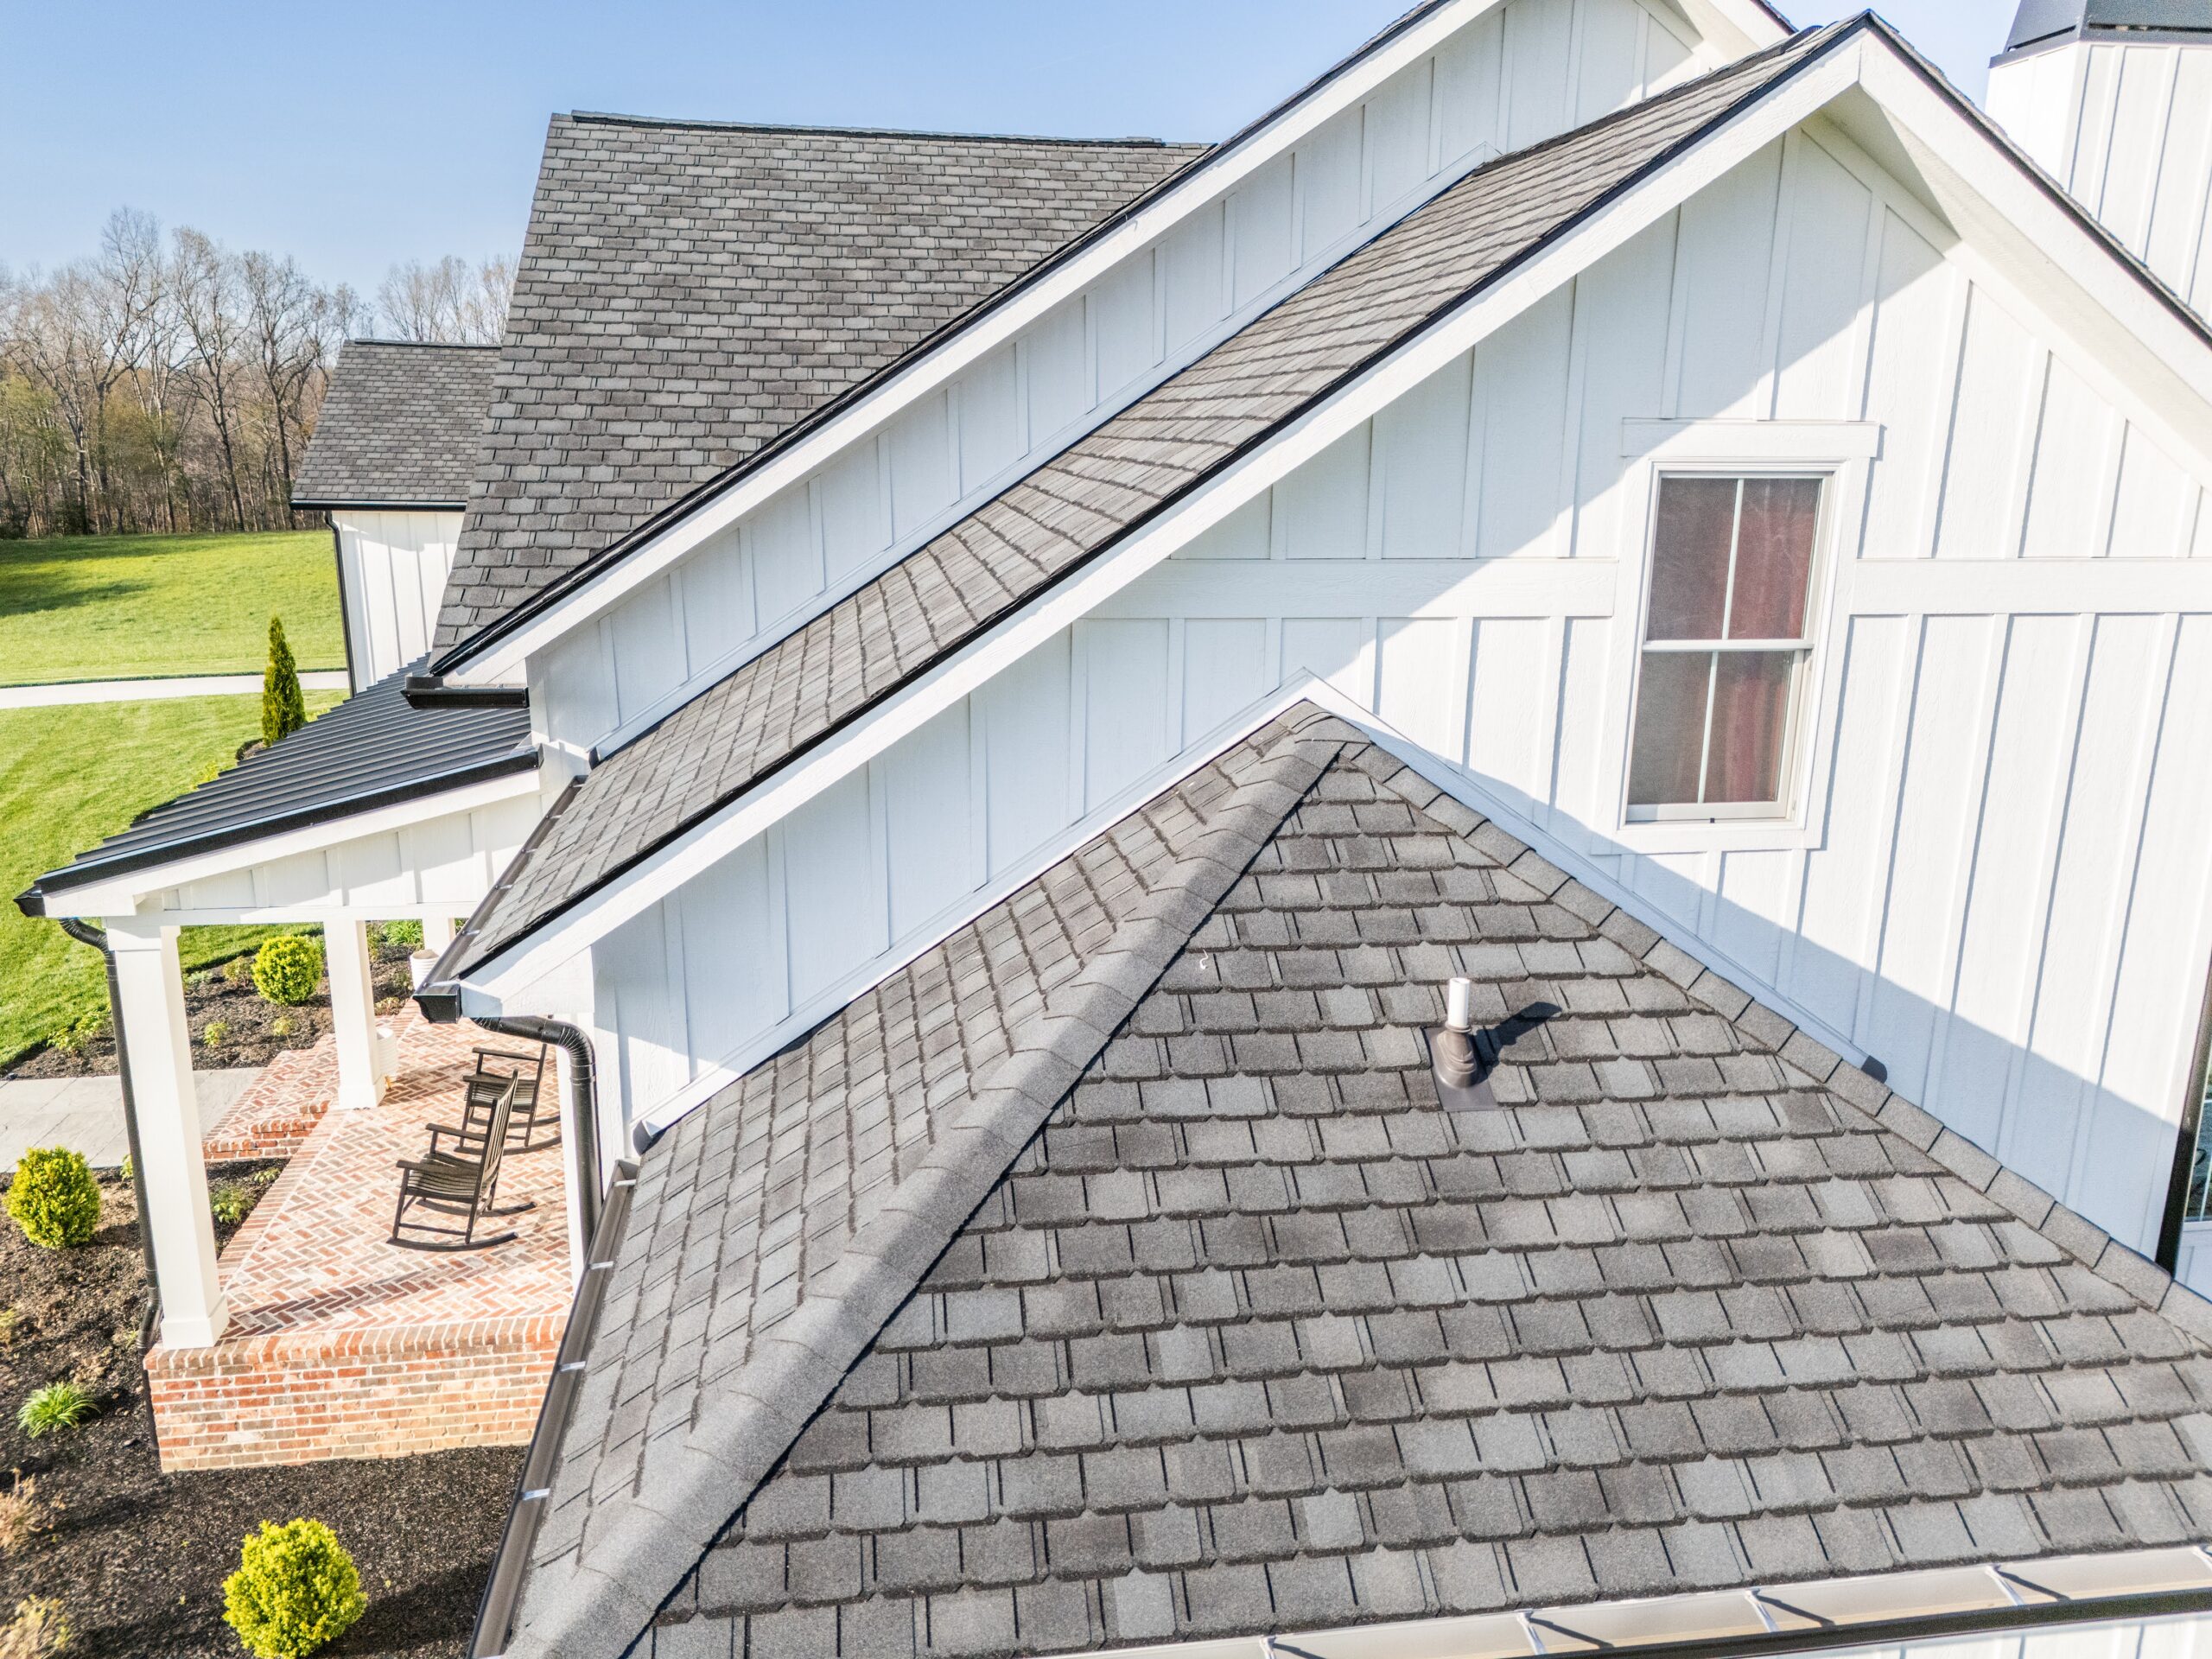
With a clean, solid deck in place, the installation of the new roofing system begins. A properly installed roof is built in layers, from the bottom up:
Metal drip edge flashing is installed along the eaves and rakes first. This channels water away from the fascia and prevents it from working its way under the shingles at the edges of the roof.
A layer of roofing underlayment — either felt paper or a synthetic product — is rolled out across the entire roof deck. This serves as a secondary moisture barrier beneath the shingles.
In the most vulnerable areas — valleys, eaves, around chimneys and penetrations — a self-adhering leak barrier is applied for extra protection.
Starter strips are installed along the eaves before the first full course of shingles. They seal the bottom edge of the roof and prevent wind-driven water from getting underneath.
The main shingles are installed from the bottom of the roof upward, with each course overlapping the one below it. Proper nailing patterns, nail placement, and offset between courses are all critical to the performance and wind resistance of the finished roof.
Metal flashing is installed wherever the roof meets a vertical surface — chimneys, walls, skylights, and roof valleys. Proper flashing installation is one of the most skill-dependent parts of the entire job, and one of the most common sources of leaks when done incorrectly.
The very peak of the roof is finished with ridge cap shingles, which provide weatherproof coverage at the most exposed point of the entire roofing system and allow the attic to breathe properly.
A professional roofing crew doesn’t just install your new roof — they leave your property clean when they’re done. At Jeff Woods Construction & Roofing, our cleanup process includes:
After cleanup, your contractor should conduct a thorough final inspection of the completed roof — checking flashing, ridge cap, shingle alignment, and all penetration seals — before considering the job complete.
For a typical single-story Tennessee home, a full roof replacement can usually be completed in one to two days. Larger or more complex roofs — those with multiple levels, steep pitches, or numerous penetrations — may take longer.
Factors that can affect the timeline include:
Your contractor should give you a realistic timeline upfront and keep you informed of any changes.
At Jeff Woods Construction & Roofing, we provide professional roof installation services throughout Tennessee. Whether you’re in Crossville, Cookeville, Knoxville, Farragut, Clarkrange, Fairfield Glade, Jamestown, Harriman, Kingston, Livingston, Loudon, Monterey, Sparta, Lake Tansi, Oak Ridge, Crab Orchard, or Rockwood — our team brings the same standard of quality and craftsmanship to every job.
Visit our Roof Installation in Tennessee page to learn more about our installation services in your specific area.
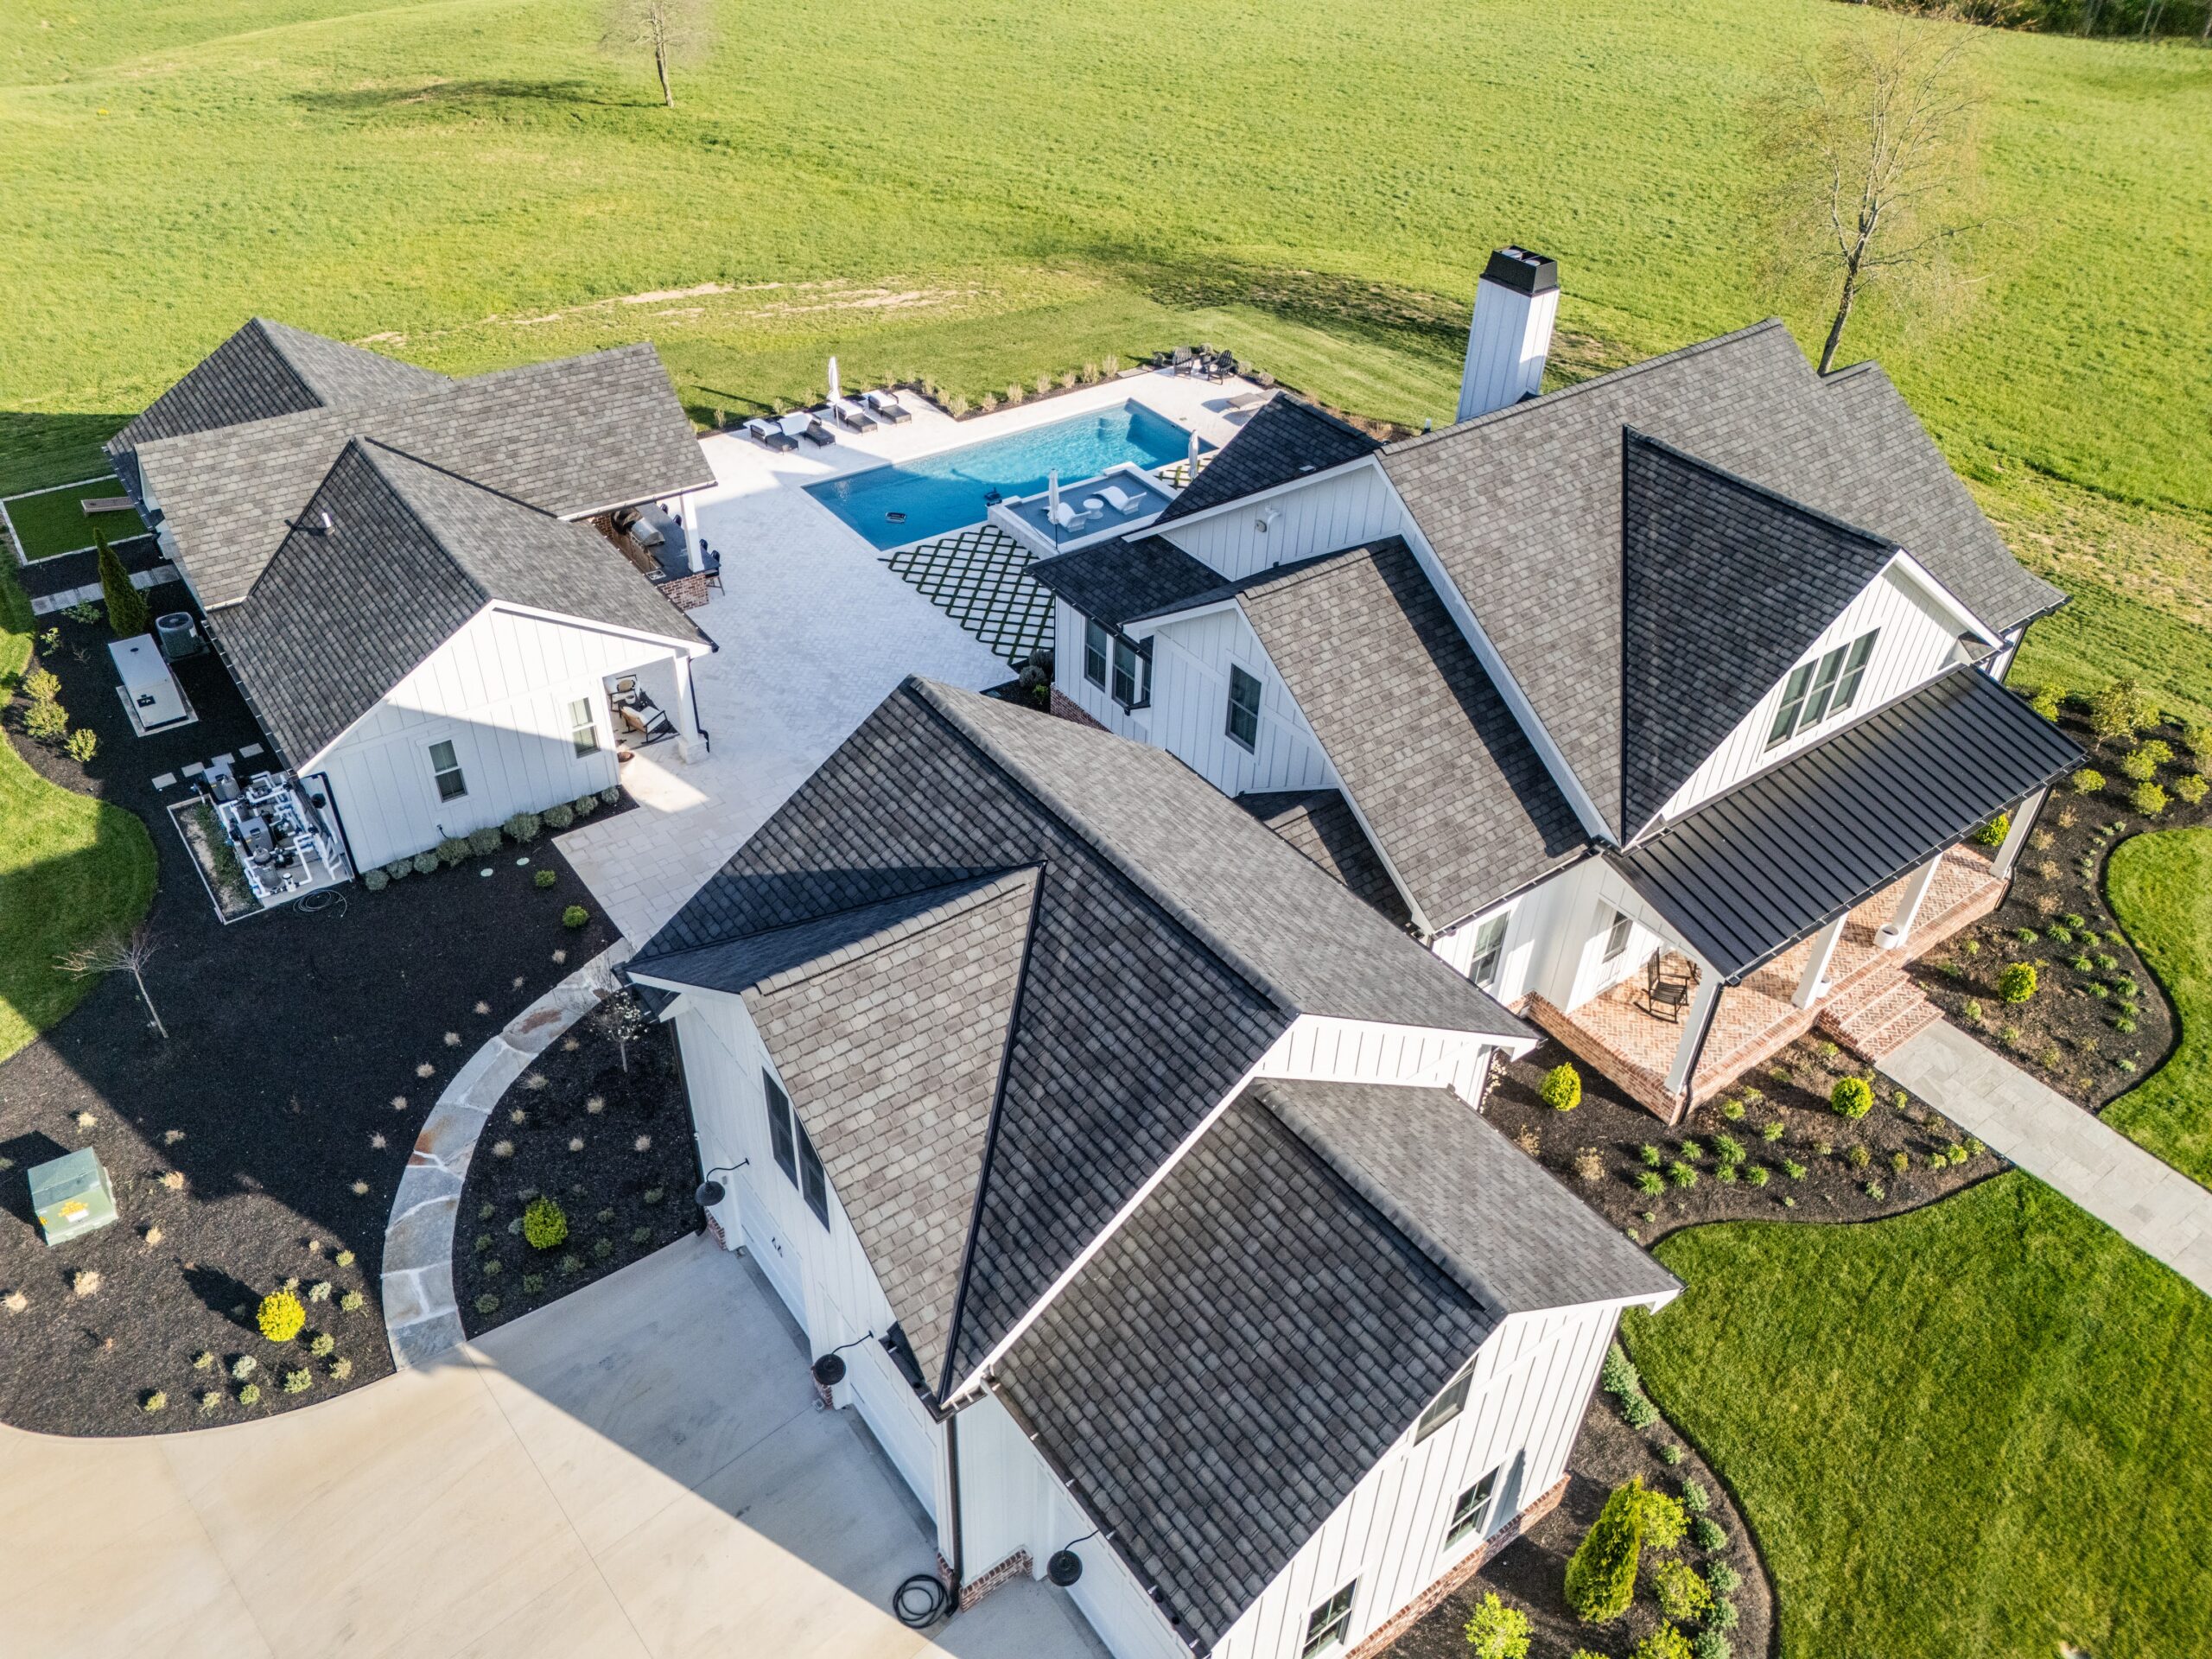
A roof installation is a major project — but it doesn’t have to be a stressful one. When you work with a contractor who communicates clearly, uses quality materials, and executes every step with care, the process is straightforward and the result is a roof built to last for decades.
At Jeff Woods Construction & Roofing, we’ve been doing this long enough to know that the details matter — every layer, every nail, every piece of flashing. That’s the standard we hold ourselves to on every single job.
Whether you’re just starting to explore your options or you’re ready to move forward, the team at Jeff Woods Construction & Roofing is here to guide you through every step of the process — from your free inspection to your final walkthrough.